
How to change nameservers and point to another provider.
Maintaining your internet presence requires changing your nameservers, but the question that arises is how to change nameservers. We will lead you through every step of switching nameservers in this extensive guide, from comprehending what they are to easily carrying out the changeover.
What Are Nameservers?
Nameservers act as a GPS for your website, translating domain names into IP addresses so browsers can locate your site over the internet. Think of them as the internet’s phone book, directing traffic to the right destination.
Why Change Nameservers for a Domain?
The main reason behind changing nameservers might be switching from an existing hosting provider to a different hosting provider.
For example, if you’ve moved your website from a previous hosting provider to a new hosting provider, the domain name might still be tied to the old hosting company and will not direct visitors to your website. In that case, you need to change nameservers so that the traffic is redirected to your website instead of losing your potential clients on that website.
How to Change Nameservers?
Now that you understand the importance of nameservers, let’s dive into the step-by-step process of changing them with Hostinger.
Step 1: Log in to Your Hostinger Account.
Head over to Hostinger’s website and log in to your account using your credentials. Once logged in, navigate to the hosting dashboard.
Step 1: Log in to Your Hostinger Account
Head over to Hostinger’s website and log in to your account using your credentials. Once logged in, navigate to the hosting dashboard.
Step 2: Access Your Domain Settings
Within the hosting dashboard, locate the “Domains” section and click on it. This will take you to a page where you can manage all your domains hosted with Hostinger.
Step 3: Select the Domain You Want to Update
From the list of domains, choose the one for which you want to change the nameservers. Click on the domain name to access its settings.
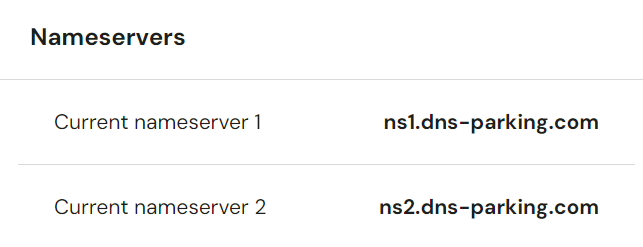
Step 4: Locate the Nameserver Settings
Within the domain settings, look for the option related to nameservers. Hostinger typically provides a straightforward interface for managing nameservers, making it easy to find and update them.
Step 5: Enter the New Nameserver Information
Now, it’s time to input the new nameserver information. You’ll typically have to enter at least two name servers provided by your new hosting provider. Make sure to double-check the information for accuracy.
Step 6: Save Your Changes
Once you’ve entered the new nameserver information, don’t forget to save your changes. Hostinger usually provides a “Save” or “Update” button for this purpose. Click on it to confirm your updates.
Step 7: Wait for Propagation
After saving your changes, it may take some time for the new nameservers to propagate across the internet. This process can vary in length, but typically takes anywhere from a few minutes to 48 hours. During this time, some visitors may still be directed to the old nameservers.
Step 8: Verify the Changes
Once propagation is complete, it’s important to verify that the nameserver changes have taken effect. You can do this by using online tools like DNS Checker to confirm that your domain is pointing to the correct nameservers.
Conclusion
Congratulations! You’ve successfully changed the nameservers for your domain using Hostinger. By following this step-by-step guide, you’ve taken control of your website’s destiny and ensured that it’s properly connected to the internet. Whether you’re migrating to a new hosting provider or simply updating your name server settings, Hostinger makes the process easy and intuitive. So go ahead, make those changes, and watch your website thrive in its new home.